
PHPでWEBサイト開発をするにあたって、開発しやすい環境を試行錯誤しています。
元々の開発環境
- Windows
- VSCode
- PHP
- Bitbucket(Git)
VSCodeの拡張機能を追加
適当に調べておすすめなのを入れました。
- Auto Rename Tag
- 開始タグを修正すると、終了タグも修正してくれる
- Path Autocomplete
- パスの予測変換が出てくる
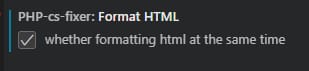
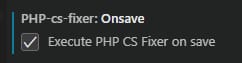
- php cs fixer
- フォーマッタ
- PHP Debug
- デバッグ用
- PHP DocBlocker
- コメント作成
- PHP Intelephense
- 生産的なPHP開発に不可欠な機能が満載の高性能PHP言語サーバー
- PHP Server
- phpファイル上で右クリック
- 「PHP Server: Serve project」をクリック
- 「PHP Server: Open file in blowser」をクリック
- defaultのブラウザで開かれる
- vscode-icons
- ファイルのアイコンを表示
- HTML CSS Support
- CSS Peek
- Pritter
VSCodeの設定
VSCodeの設定を開く。ファイル>ユーザー設定>設定(Ctrl + ,)
Files


Editor


PHP CS Fixer
PHPのインストール
インストール
特に PHP Server, php cs fixer で使用するために、XAMPP をインストールした。
公式リンクからダウンロードタブをクリックする。
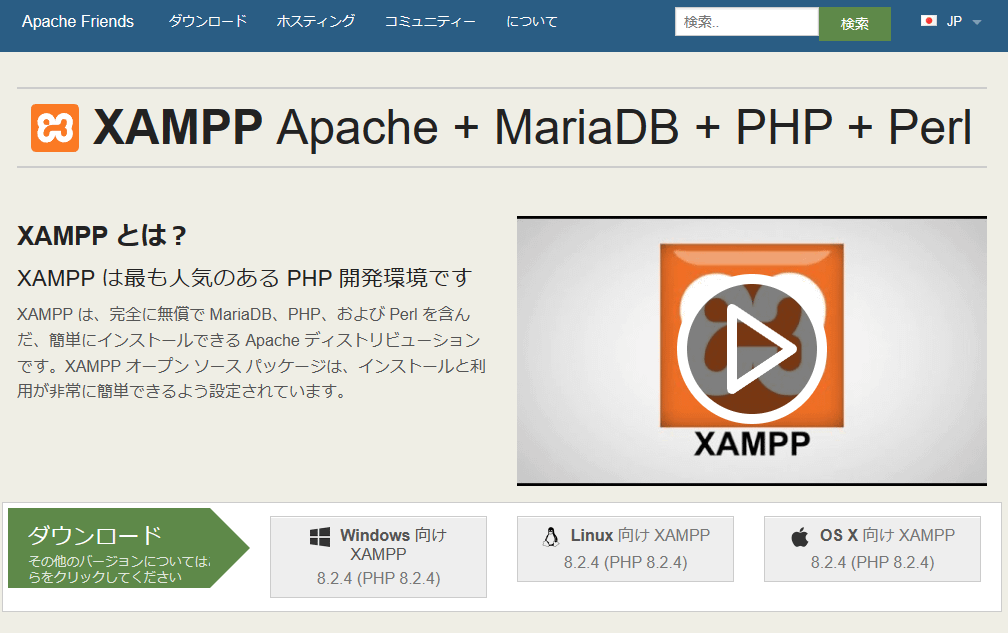
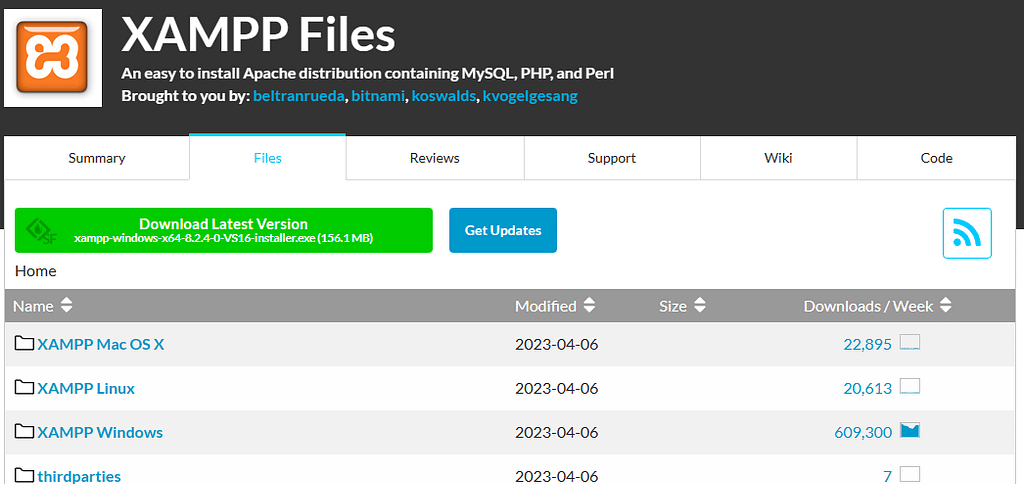
Windows向けの枠から、「その他のダウンロード」をクリックする。
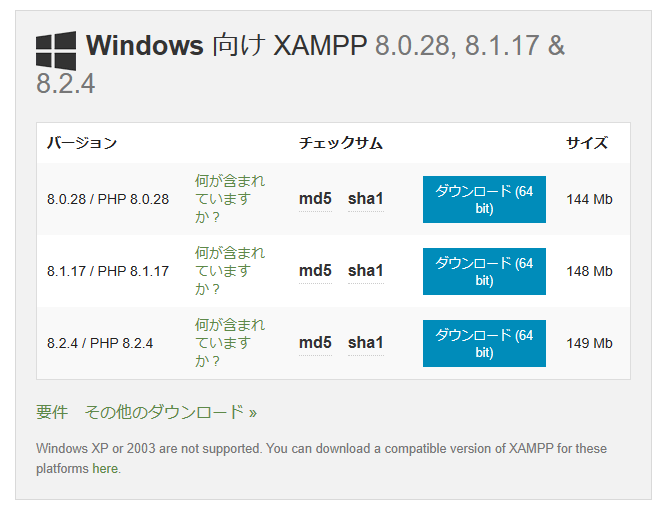
「XAMPP Windows」をクリックし、必要なバージョンの最新をダウンロードした。
インストーラーを起動し、指示に従ってすべてインストールした。
PHPをVSCodeに設定した
PHP Server 用の設定
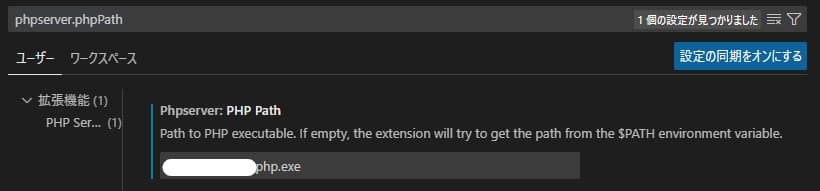
VSCodeの ファイル>ユーザー設定>設定(Ctrl + ,) の検索バーに「phpserver.phpPath」と入力し、インストールした php.exe のパスを入力する。
php cs fixer 用の設定
VSCodeの 表示>コマンドパレット(Ctrl + Shift + P) に「Preferences: Open User Settings」と入力し、基本設定(JSON)を開く。
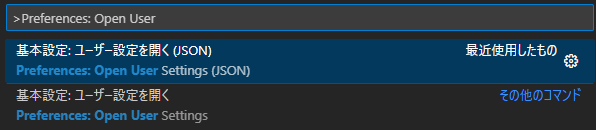
JSONの一番下に以下を入力し、保存する。
{
  "php-cs-fixer.executablePath": "${extensionPath}/php-cs-fixer.phar",
  "php.validate.executablePath": "\\php.exe",
  "[php]": {
    "editor.defaultFormatter": "junstyle.php-cs-fixer"
  }
}
{
"php-cs-fixer.executablePath": フォーマットプログラムの場所,
"php.validate.executablePath": php.exeの場所,
"[php]": {//[php]の中に書くと、拡張子.phpに対してのみ有効な設定になる
"editor.defaultFormatter": デフォルトフォーマッタをjunstyle.php-cs-fixerとする,
}
}PHPの独自整形ルール
「.php-cs-fixer.dist.php」ファイルをワークスペースのルートか、.vscode フォルダに置く。
記載できる内容は次のURLを参考にする(以下コードは例)
GitHub – junstyle/vscode-php-cs-fixer: PHP CS Fixer extension for VS Code
<?php

return (new PhpCsFixer\Config())
    ->setIndent("  ")
    ->setLineEnding("\n")
;
Prettierの独自整形ルール
「.prettierrc」ファイルをワークスペースのルートに置く。
記載できる内容は次のURLを参考にする(以下コードは例)
Configuration File · Prettier
{
  "tabWidth": 2,
  "endOfLine": "lf"
}

コメント